


Hello, Hello!!
I’m Cami from TIDBITS!
I am so thrilled to be here with you today, and honored to be able to share on Lucy’s beautiful blog, Craftberry Bush. Doesn’t she just knock your socks off?! I’ve adored her for a very long time and so grateful she would allow me to share with you today.
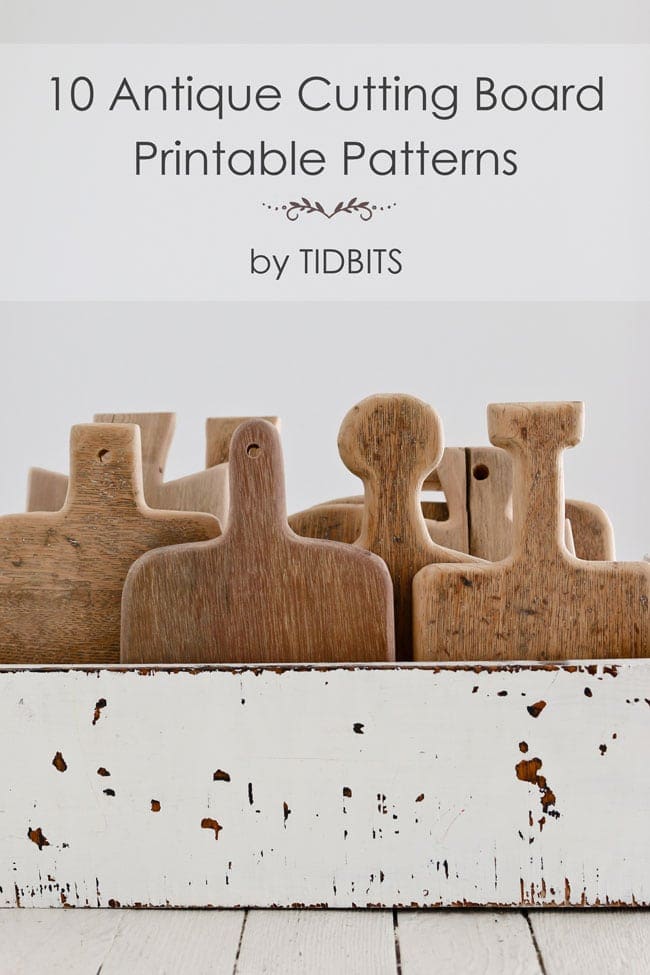
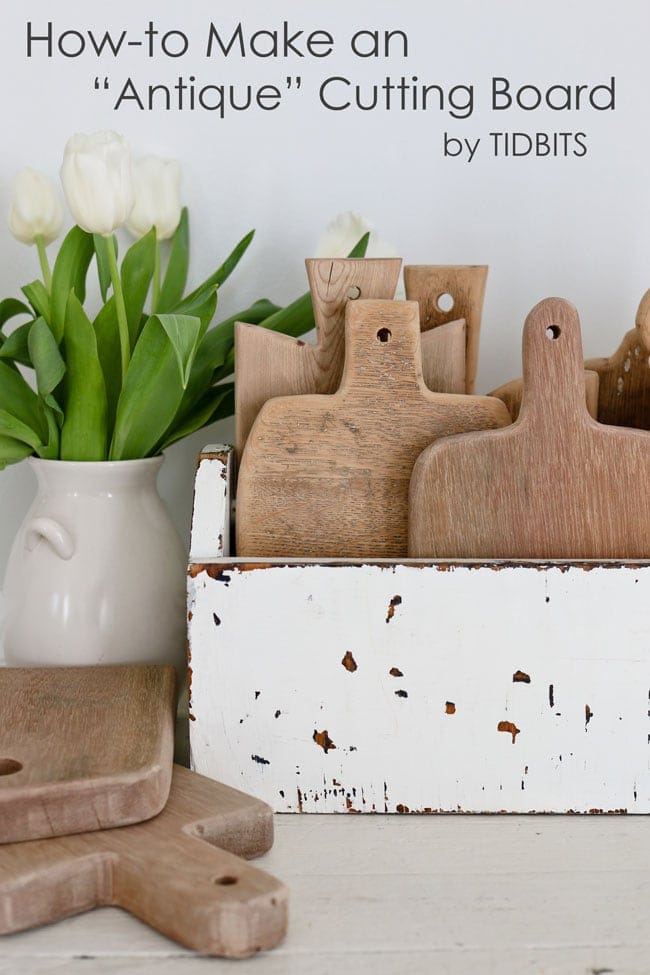
I’m pretty excited about the project tutorial I’ve prepared as I will be sharing how you can take a piece of old wood and create an antique cutting board that looks like it’s been loved for centuries.
But before I do that, let me introduce myself – real quick.
I’m a sleep deprived mom of 4 little cuties. They are my greatest inspiration. Creating things and changing spaces are my addictions. My husband and I bought a 1990’s builder grade home and are slowly changing it to suit our style, which I like to define as a mix between a Farmhouse in France and a Cottage on the Coast. Here are some of the rooms we’ve finished so far, and I’d love to have you over to my blog see more.
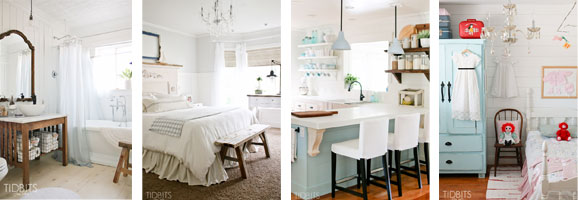
Master Bathroom || Master Bedroom || Kitchen || Girls Room
It usually happens that I have the vision and my husband has the ability ![]() He is super handy and makes all of my dreams come true and I couldn’t do anything in our home without his help. In fact – he is here today to show us how to make an antique cutting board!
He is super handy and makes all of my dreams come true and I couldn’t do anything in our home without his help. In fact – he is here today to show us how to make an antique cutting board!
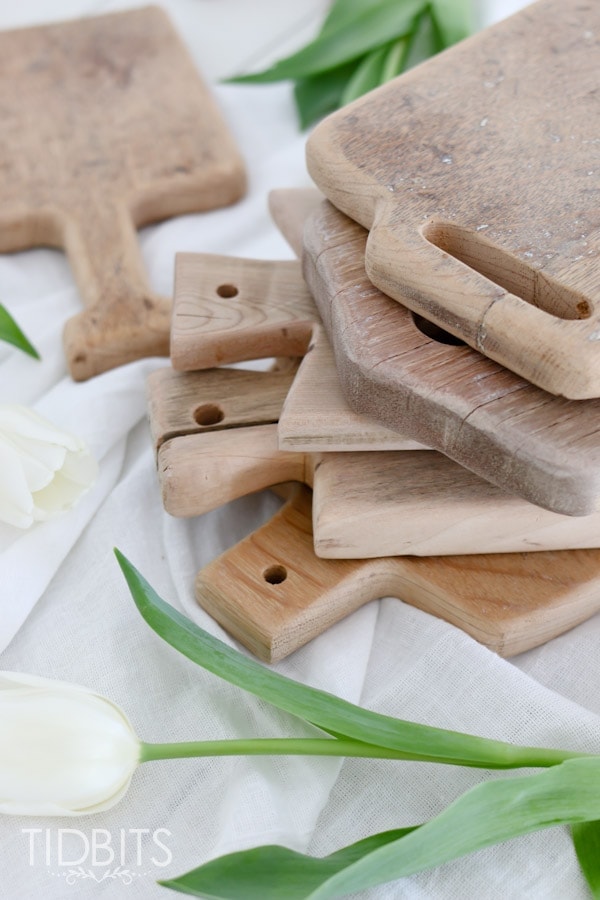
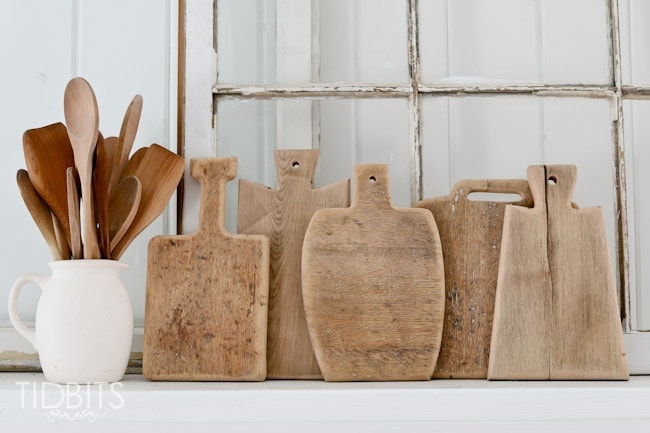
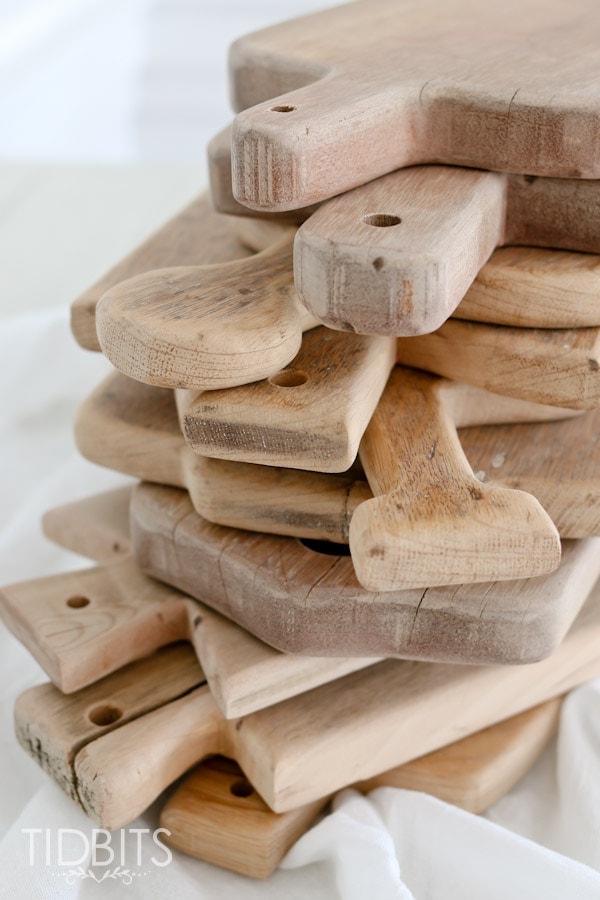
He has collected quite a stash of old, weathered and aged wood and we thought it would be fun to turn a bunch of it into little cutting boards.
You could of course use new wood if you prefer and stain it any way you like, but if you happen to have some old wood on hand, these can really give the appearance of century old cutting boards.
I’d like to show you the steps to making a cutting board as quick and as easy as it gets, and the tools that can help you do that. But I’m excited to also share that I’ve provided 10 printable patterns over at TIDBITS that will help you trace and cut a cutting board that you will love, with plenty of shapes to choose from.
Once you’ve chosen your pattern and printed it out, follow these instructions for making your antique cutting board.
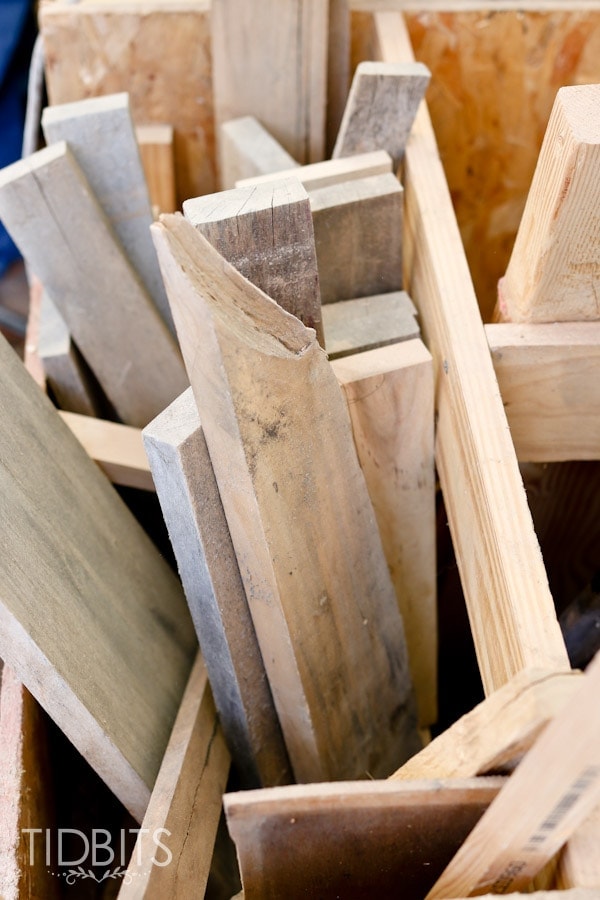
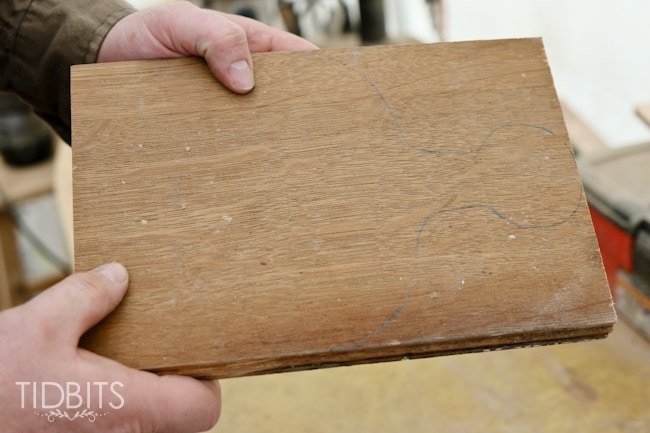
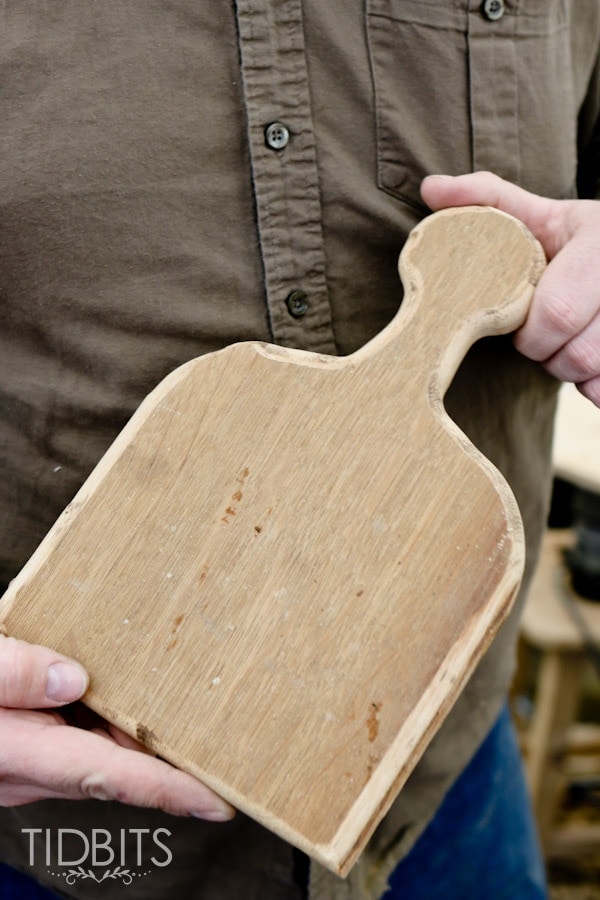
First, choose a piece of wood.
Hard woods – such as maple, birch, oak, walnut, mahogany – are great for cutting boards. But you could use whatever you please if it is for decorative purposes only. If I plan to actually use a cutting board from old wood, I am sure to wash it thoroughly and seal with a food safe mineral oil. If it is decorative, you may want to consider leaving it in its raw and natural state.
Trace your pattern onto the wood.
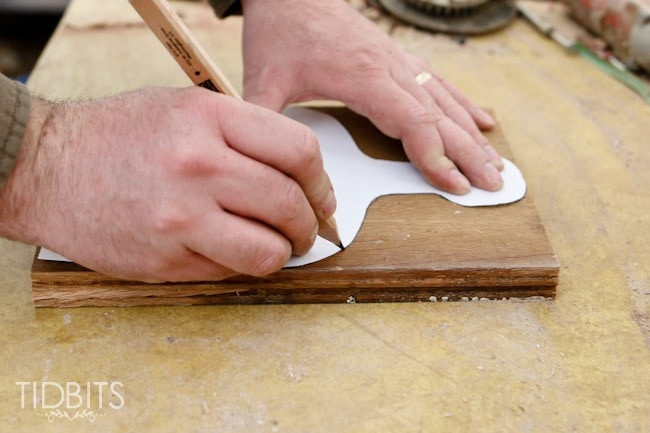
A pencil will do just fine.
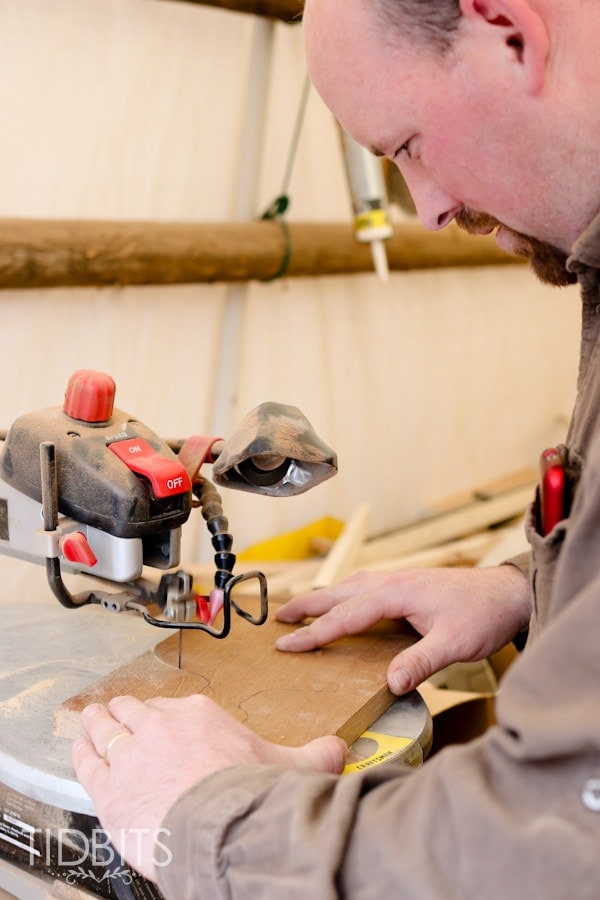
Next, you will cut out the pattern. My husband’s power tool of choice is a scroll saw, but he says a jig saw will work as well.
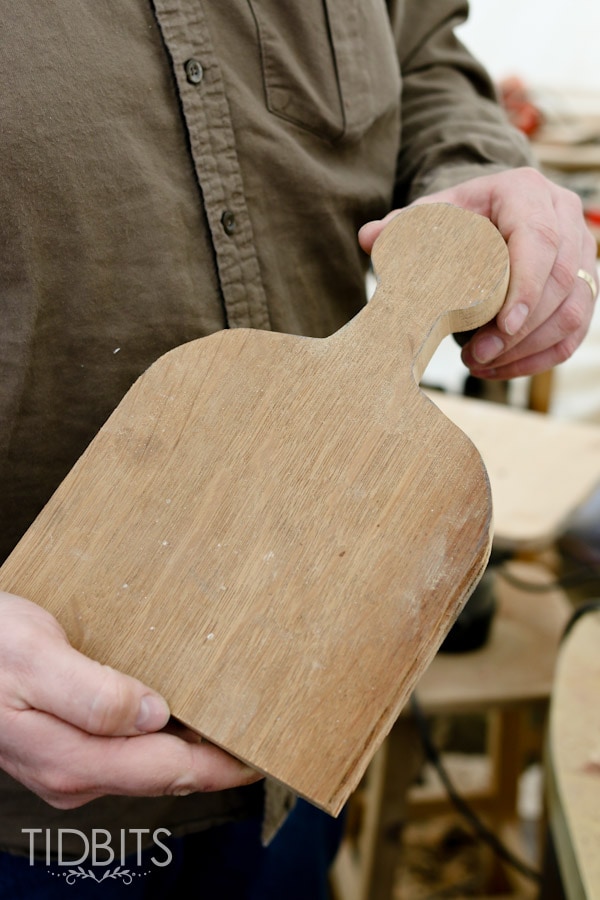
At this point, you’ll have a nice shape, but you’ll probably want to work on the edges.
He used a router to get a nice rounded edge.
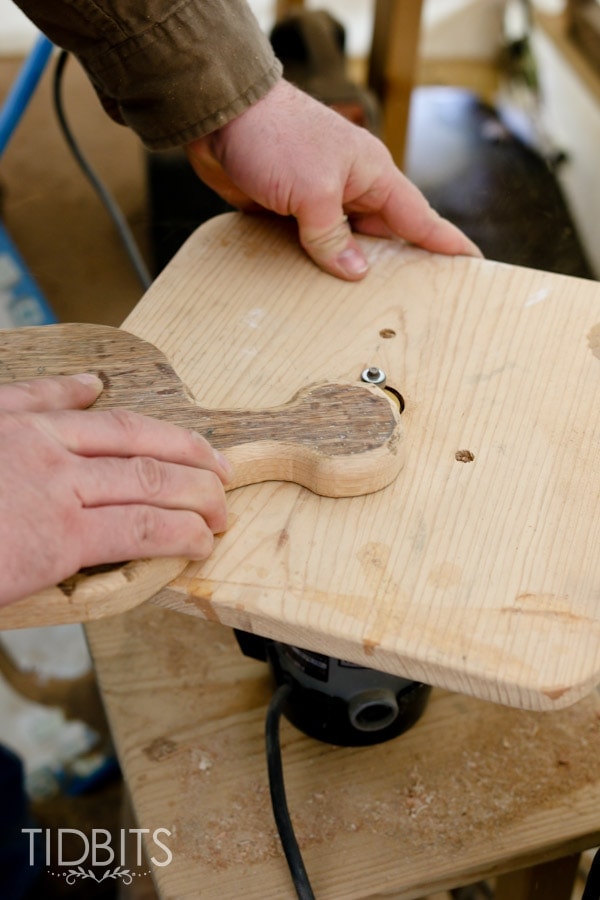
Before he had a router, he always just used an orbital sander to round the edges a bit. How curved you want them depends entirely on you.
Then you’ll want to sand the entire surface. This step really helps to clean up the old wood and refresh it a bit.
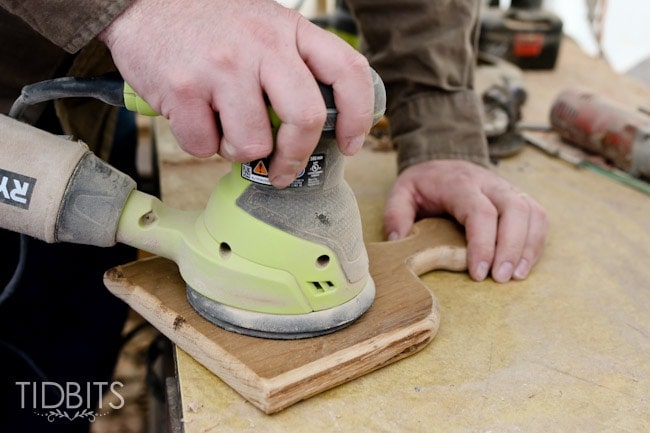
Even after all of these steps, you’ll still have the lovely character only an old and worn piece of wood can bring.
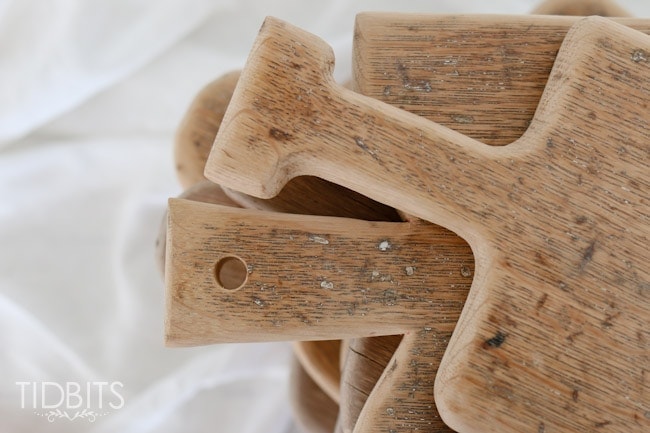
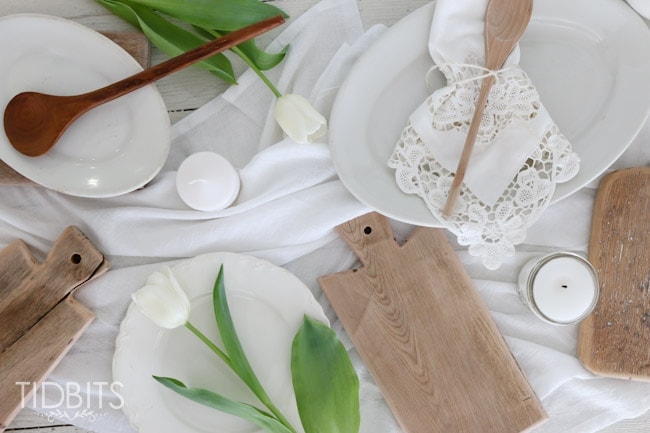
And there are so many decorative purposes for an old cutting board.
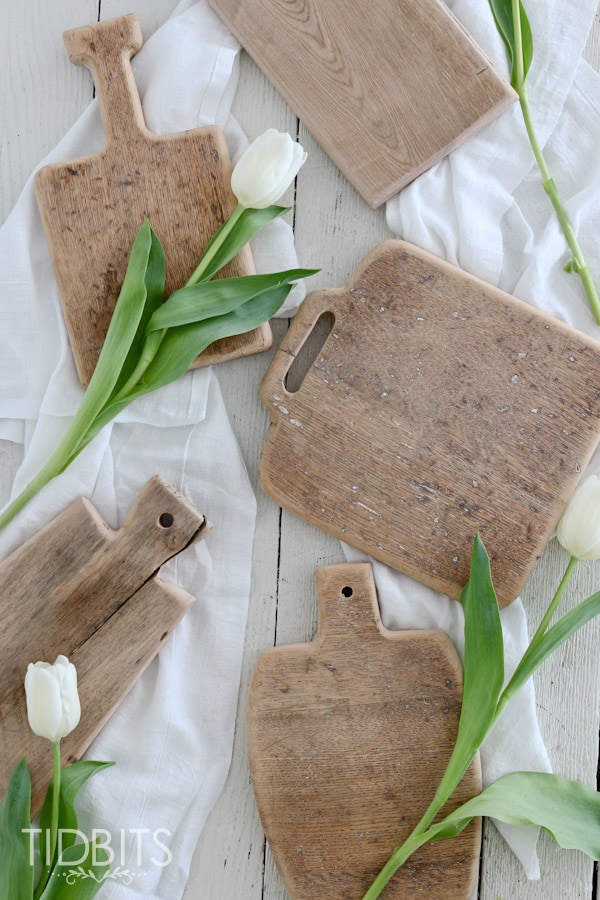
I love to place them here and there against our white walls to bring in some added warmth and contrast.
I hope you’ve enjoyed this tutorial and I hope it has been helpful for you!
My husband shares other woodworking projects, like this entry table plan, but I really prefer to dabble with fabrics.
Here I’ve shared how to make a ruffle pillow sham.

And one of my favorites to date is this tassel throw blanket.

Thanks for being here with me and we will see you soon!