
How to Double Crochet an Oval
How to Double Crochet an Oval
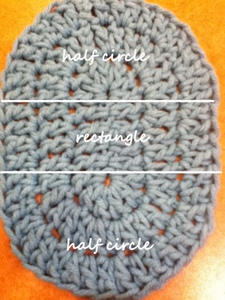
An oval is a basic shape that can be crocheted for many purposes, such as to create a placemat, bag, or dishcloth. But how do you crochet a basic oval? Ovals come in different shapes. The oval we are crocheting today is nothing more than a half circle + a rectangle (of any length) + a half circle.

Therefore, we’ll use elements of each shape in our tutorial. The increases are similar to that of circles, and the rectangle part is just like crocheting in even rows. We’ll be working with a foundation chain of 9, but you can increase the length of the foundation chain if you’d like a longer oval. Additionally, we’ll be working in 3 rounds of double crochet, but you could increase the number or rounds to make your oval bigger.
This shape can be useful in designing many different crocheted objects. For the purpose of practicing this skill, we’ll make an oval swatch in this tutorial. I am going to use my swatch for a napkin I can keep with me! Yarn and hook size don’t matter for this practice swatch.
You may mouse over images for left-handed views.
Abbreviations:
ch – chain
dc – double crochet
sl st – slip stitch
Foundation: ch 9.
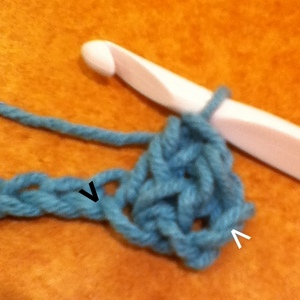
Round 1: 2 dc into the 4th ch from hook (turning chain counts as 1 dc)
The photo below shows this done. The white arrow is pointing to the turning chain. The back arrow is pointing to the next ch.
The photo below shows this done. The arrow is pointing to the final ch.
The photo below shows this in progress. The white arrow is pointing to the final ch. There is one dc remaining to be worked in this chain.
The photo below shows this in progress.
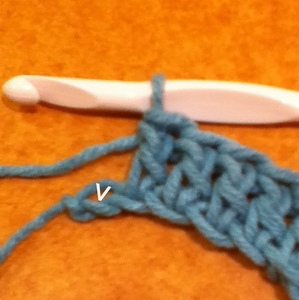
Round 2: ch 3 (counts as 1 dc now and throughout), do not turn, dc into same stitch as slip stitch, 2 dc in each of next 2 dc
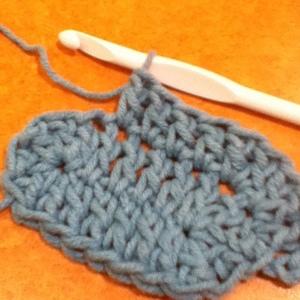
The photo below shows this done.

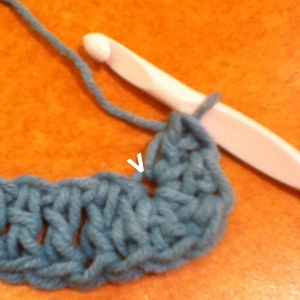
dc in next 4 dc.
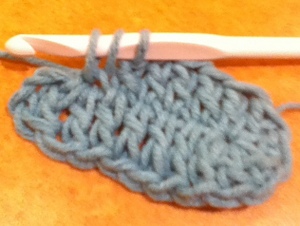
The photo below shows this done.
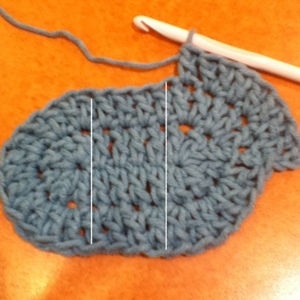
The photo below shows this done. The white lines show the half circle – rectangle – half circle divisions.
The photo below shows this almost done.
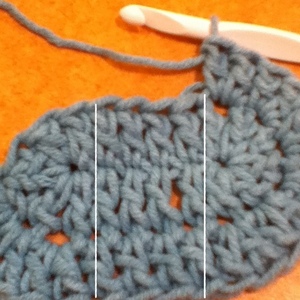
The photo below shows this done. The white lines show the half circle – rectangle – circle divisions.
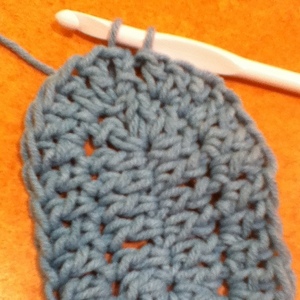
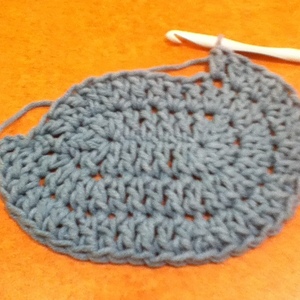
The photo below shows this done.
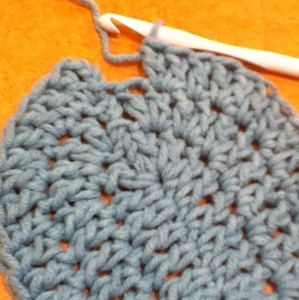
The photo below shows this in progress. Just two more stitches to go!
If you have any questions, or need any help, please leave a comment below!
How can I make this bigger the size of a salad plate or bread n butter plate but oval