
Crochet Puff Stitch How-To Video and Pattern by Maggie Weldon – Puff Stitch Baby Bunting
Crochet Puff Stitch How-To Video and Pattern by Maggie Weldon – Puff Stitch Baby Bunting
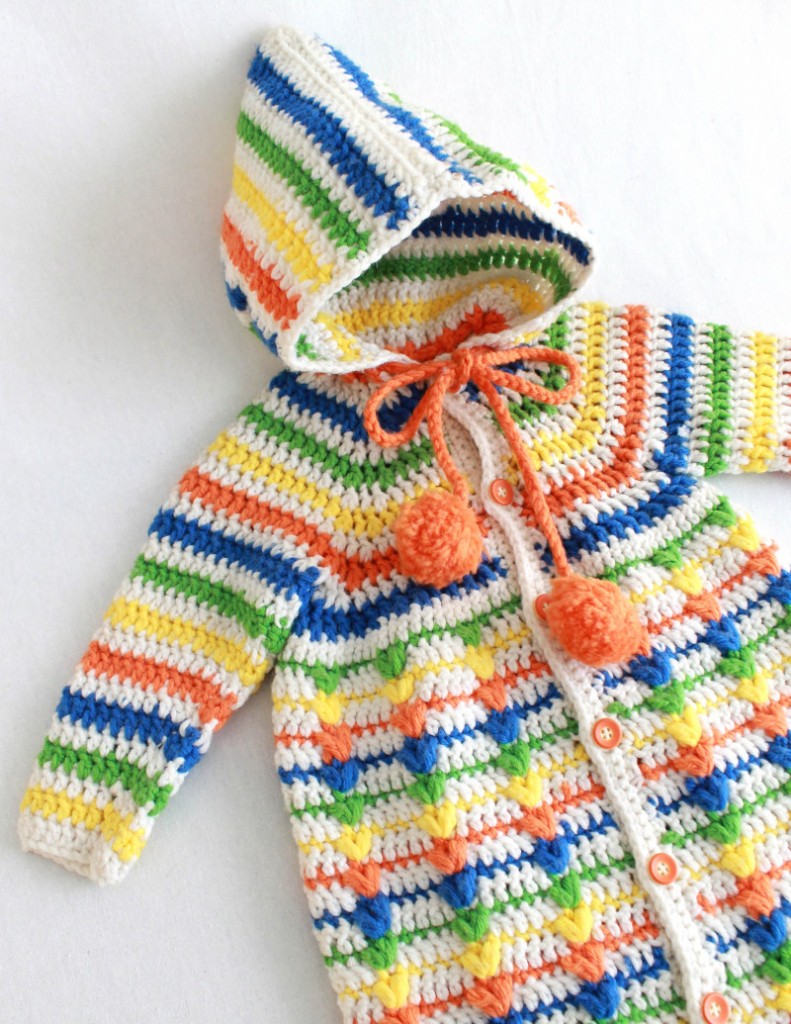
This is the design that got my whole crochet career started!!! – the Puff Stitch Baby Bunting. Baby buntings make a great gift for a mother-to-be or your own baby. The PA784 – Puff Stitch Baby Bunting is a colorful and cozy pattern that is sure to keep your baby warm. Don’t let the puff stitch scare you away from trying out this pattern. Wendy Heineken, a Maggie’s Crochet customer, asked for some help with the puff stitch, so I created a video for her. The pattern repeat for the stitch is listed below, along with the video. Use this information to get you through this pattern, especially at row 4 where Wendy had some questions come up.
P.S. Once Wendy saw the video she was able to understand the stitch – yeah!!!
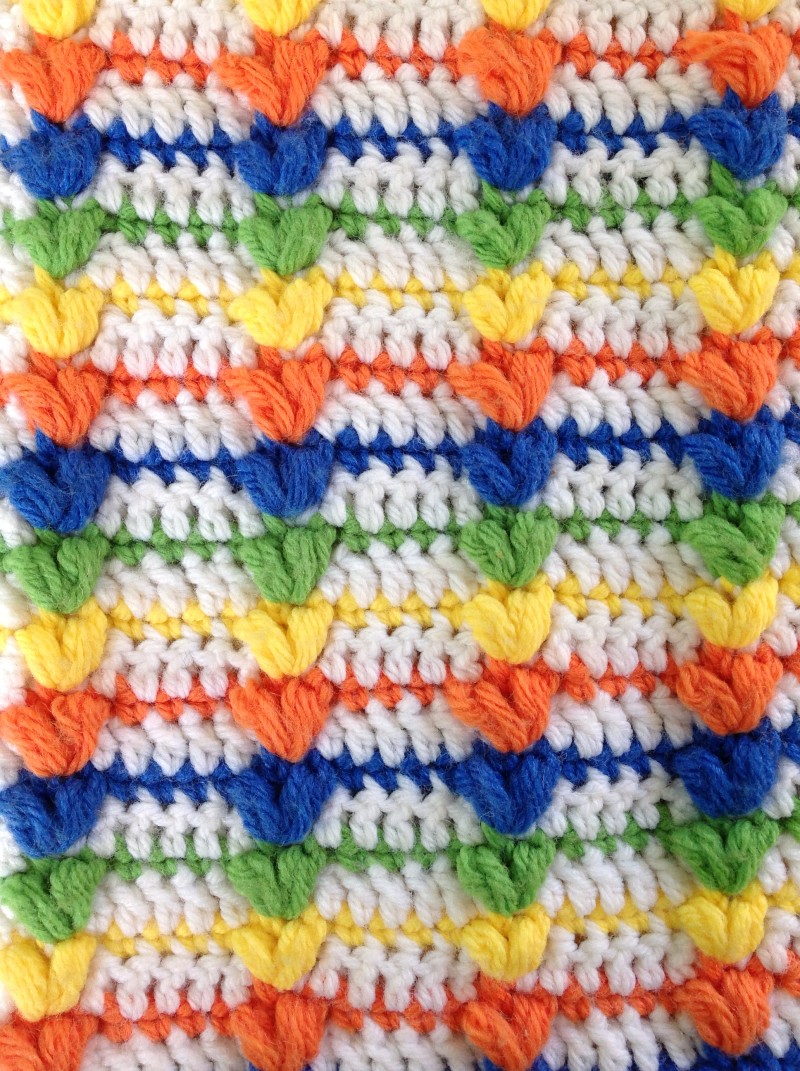
Post Stitch Close Up – So Beautiful!!!
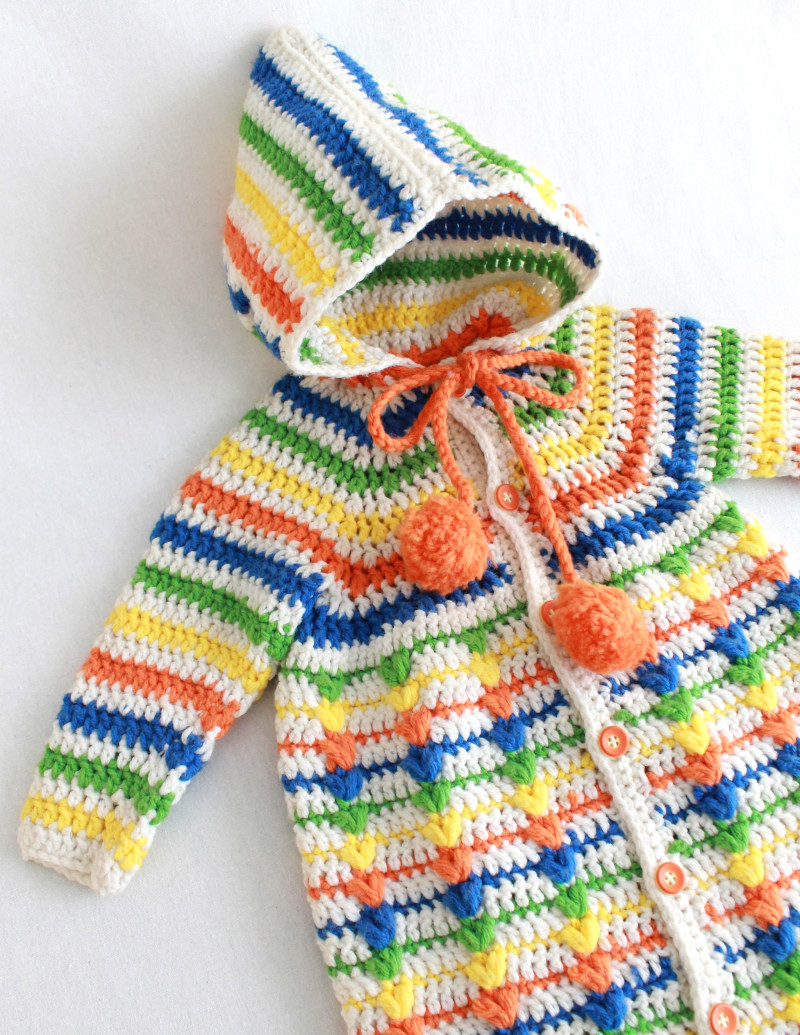
Puff Stitch Baby Bunting Crochet Pattern PA784
Button Down Front

Beautiful Puff Stitches
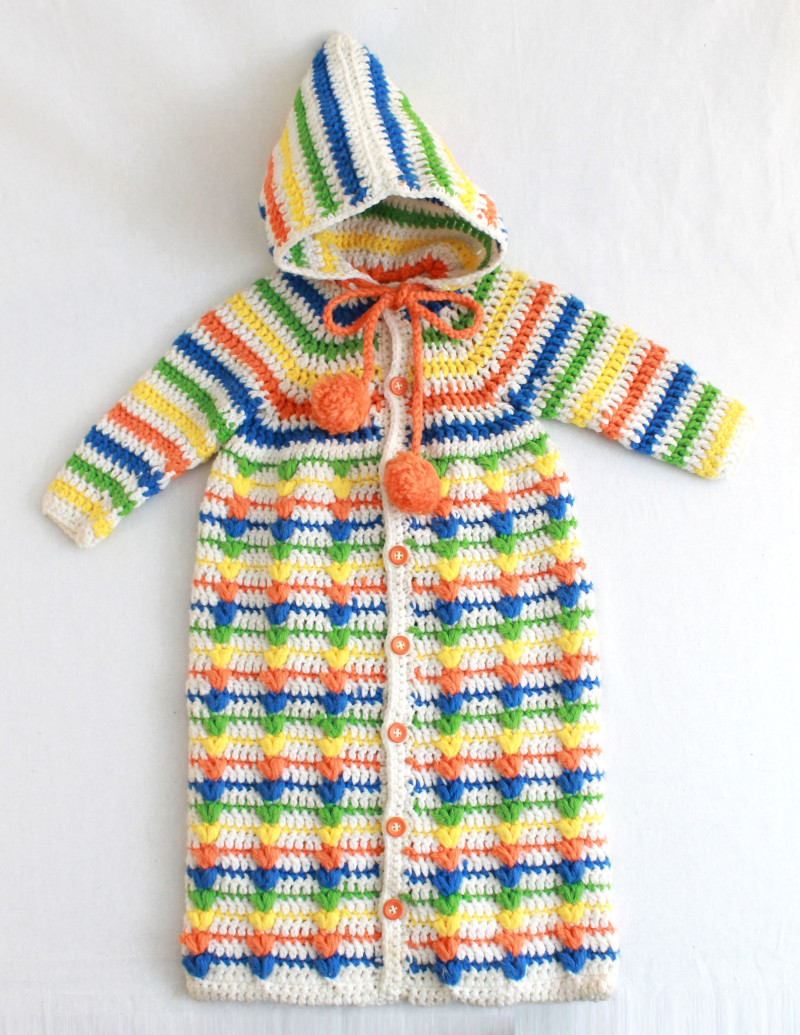
My First Crochet
Puff Stitch Baby Bunting Crochet Pattern PA784
Here is the written pattern for this gorgeous stitch:
Rainbow Puff Stitch Pattern Multiple of 7 + 6
Abbreviations: ch = chain, sc = single crochet, st = stitch, yo = yarn over
JOINING WITH SC
When instructed to join with sc, begin with slip knot on hook, insert hook in st or sp indicated, yo and pull up a loop, yo and draw through both loops on hook.
To Change Colors
Work last stitch before color change to last step, with new color yo and pull new color through remaining loops on hook. Drop unused color to wrong side.
Puff Stitch: * YO hook, inserting hook from front to back, to front around sc, pull up a lp, rep from * once more around the same sc, yo and pull through 5 lps on hook.
Row 1 (right side): With Background Color, ch a multiple of 7 + 6; dc in 4th ch from hook (skipped chain counts as 1st dc now and throughout) and in each ch across.
Row 2 (wrong side): Ch 1, turn, sc in each dc across.
Row 3 (right side): Ch 3, turn, dc in each sc across. Drop Background Color (put stitch on a stitch marker). The stitch marker I used in the video is here: Stitch Markers
Row 4: With right side facing, join Color-A with a sc to 1st dc of Row 3; sc in next 3 dc, Puff St around 5th sc on sc row (Row 2), * skip next dc, sc in next dc, puff st around sc last puff st was worked around, skip next dc, sc in next 4 dc, skip next dc, puff st around sc below next dc, rep from * across, end last rep sc in each of last 4 dc, changing to Background Color (using loop on stitch marker) with last step of last sc. Finish off A.
Row 5 (wrong side): With Background Color, ch 3, dc in each st across. Drop Background Color; change to Color-B at last step of last dc. DO NOT TURN.
Row 6 (right side): With Color-B, rep Row 4. Finish off B. TURN.
Row 7: With right side facing, Pick up Background Color Pick up MC, ch 3, dc in each st across. Put loop on a stitch marker, DO NOT TURN.
Repeat Rows 4-7 to desired length.
Right Handed Rainbow Puff Crochet Stitch
Left Handed Rainbow Puff Crochet Stitch
Watch Maggie’s review of her first pattern here!
Hugs,
Maggie
If you liked this tutorial, check out another how-to on the Chainless Foundation stitch here.